

Milky Way Photography: The Ultimate Guide
At Wildscape Adventure, we believe that nothing compares to the magic of photographing the Milky Way under a dark, starry sky. Whether you’re new to night photography or looking to level up your skills, this detailed guide will walk you through every step of the process. We’ll cover essential gear, camera settings, planning with apps like PhotoPills, how to find the Milky Way, and advanced post-processing techniques. So, grab your camera, and let’s head out for an unforgettable starry adventure!
Introduction: The Harmony of Earth and Sky
Landscape astrophotography merges the vastness of the cosmos with the beauty of terrestrial landscapes. Capturing the Milky Way arching over a mountain range, auroras dancing above serene lakes, or star trails circling above desert monoliths brings Earth and the night sky together in a timeless frame.
Unlike basic night sky photography, landscape astrophotography challenges you to balance exposure for the foreground and the stars, plan for perfect conditions, and process your images to reveal every stunning detail.
This comprehensive guide will walk you through planning, gear, settings, and techniques, ensuring you’re fully equipped to create breathtaking images.

Understanding the Night Sky
Milky Way Season
The Milky Way, particularly its bright galactic core (the dense, bright region near Sagittarius and Scorpius constellations), is the star attraction in astrophotography. Here’s when and where to look for it:
March (Early Season):
Timing: The galactic core rises just before dawn.
Location: Look low on the southeastern horizon an hour or two before sunrise.
Tip: This is when the Milky Way appears nearly horizontal and close to the horizon.
June (Peak Season):
Timing: The core becomes visible soon after sunset and remains in view throughout the night.
Location: Look toward the southeast to south as the Milky Way climbs higher. By midnight, the core appears almost vertical in the southern sky.
Tip: This is the best time to capture the full arc of the Milky Way stretching across the sky.
October (Late Season):
Timing: The core is visible just after sunset but quickly sets within 2–3 hours.
Location: Look low on the southwestern horizon shortly after dusk.
Tip: This is your last chance to photograph the core before it dips below the horizon for the season.
Moon Phases
The moon’s brightness dramatically affects astrophotography:
New Moon: Ideal for the darkest skies and clear Milky Way shots.
Crescent Moon (10–20% illumination): Adds soft light to landscapes without overpowering the stars.
Full Moon: Avoid for Milky Way photography; however, it’s perfect for:
Star Trails: With brighter landscapes and exposed skies.
Auroras: Provides balance to the ground illumination. (only at high latitudes)
Planning Tools:
PhotoPills Moon Calendar: Shows moonrise/set, phase, and position.
Time and Date Moon Tracker: Online tools for exact moon phase.

PhotoPills Moon Calendar

PhotoPills Moon Calendar

Locating Milky Way and other celestial objects
Tools to determine celestial objects' position:
PhotoPills: Offers Augmented Reality (AR) tools to plan star and Milky Way alignments.
Stellarium: Free desktop/mobile app for real-time sky maps.
Month Timing Position on Horizon
March Before dawn Low on the southeastern horizon
June All night (post-sunset) Southeast to South (climbs high, near vertical)
October After sunset Low on the southwestern horizon
Use these directions as a general guide and consult tools like PhotoPills for precise positions based on your location.


Stellarium
Choosing the Perfect Location
Dark Skies
Light pollution washes out the night sky. Use tools like:
DarkSiteFinder.com: Pinpoint low-light pollution zones.
Bortle Scale: Rates darkness levels from 1 (pristine) to 9 (urban sky).
Aim for locations with Bortle 1–3 ratings for the clearest views.

Bortle Scale
Landscape Elements to Enhance Composition
Balance the celestial with dramatic terrestrial elements. Plan for foreground interest, including:
Mountains and Peaks: Frame the Milky Way’s arc above a dramatic mountain range. Example: Grand Teton National Park.
Rock Formations: Arches, cliffs, or hoodoos (e.g., Arches National Park).
Water Bodies: Lakes, rivers, or even puddles for reflections.
Trees: Ancient trees (like bristlecone pines) add character.
Scout locations during the day to identify unique compositions and safe routes. Use tools like Google Earth for 3D planning.
National Parks and Iconic Locations
Famous astrophotography destinations:
Yellowstone National Park (Montana/Wyoming): Dark skies, geothermal features, and reflective lakes.
Acadia National Park (Maine): Coastal skies, cliffs, and lighthouses.
Grand Teton National Park (Wyoming): Stunning dark skies, rugged mountain terrain, and reflective lakes.
If you can’t travel, local hills, parks, and rural backroads may surprise you with their minimal light pollution.

Northern Lights in Yellowstone National Park

Milky Way in Acadia National Park

Milky Way in Grand Teton National Park
Essential Gear for Landscape Astrophotography
Camera
Type: A full-frame DSLR or mirrorless camera is ideal for superior low-light performance (e.g., Sony A7sIII, Canon EOS R5, or Nikon Z7).
Sensor: Full-frame sensors capture more light, but APS-C cameras can also produce excellent results.
Lenses
Wide-Angle, Fast Lenses:
Examples: Sigma 14mm f/1.8, Sigma 24mm f/2, or Sigma 35mm f/1.4.
Apertures of f/1.4 to f/2.8 are ideal for gathering maximum light.
Manual Focus Lenses: Lenses with a manual focus ring help you precisely nail focus on stars.

Sigma 14mm f/1.8 ART
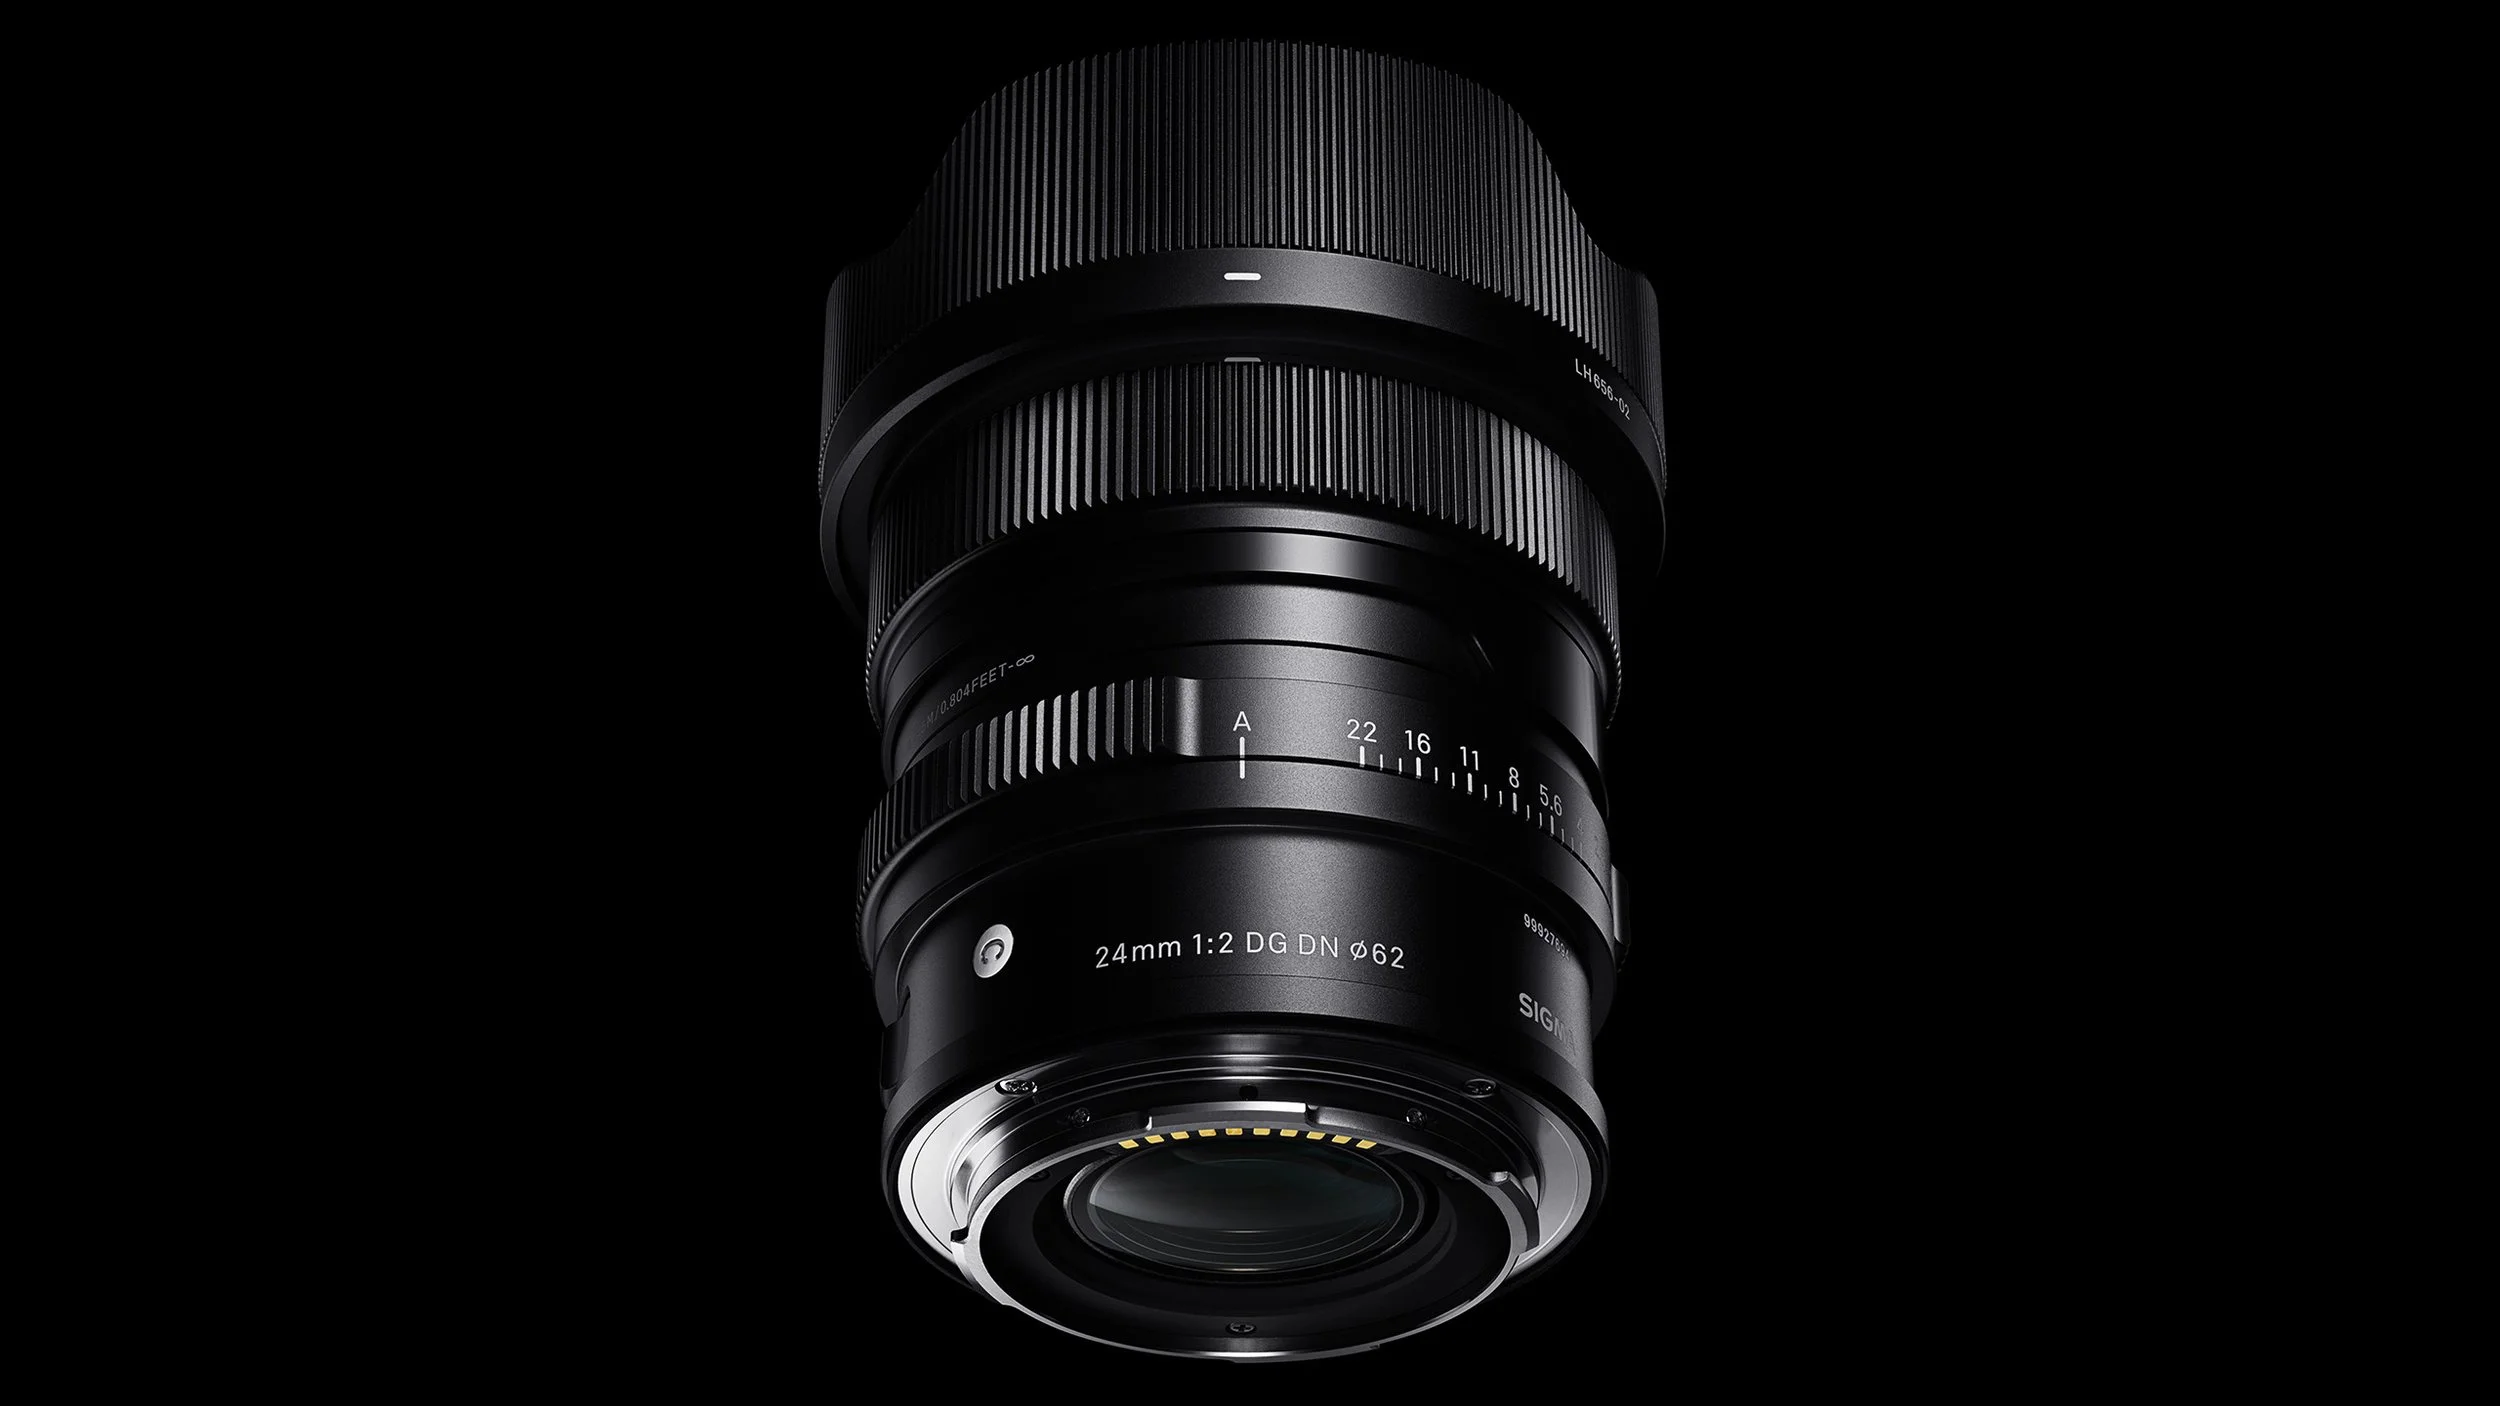
Sigma 24mm f/2 Contemporary
Tripod
Sturdy and stable to prevent shake during long exposures. Consider carbon fiber tripods for portability.
Additional Gear
Remote Shutter Release: Avoid camera shake during exposures.
Headlamp: Preferably with red light to preserve night vision.
Lens Heater or Hand Warmers: Prevent condensation on the lens.
Camera Settings for the Night Sky
General Settings
Mode: Manual (M) for full control.
Shutter Speed: Use the NPF Rule or 500 Rule to avoid star trails:
Example: For a 14mm lens on a full-frame camera → 15-30 seconds.
Use the PhotoPills NPF calculator for more precise results.
Aperture: Set to the widest aperture your lens allows (f/1.4–f/2.8).
ISO: Start with ISO 1600–3200, depending on your camera’s low-light performance.
White Balance: Adjust to 3500–4000K for neutral, cool-toned skies.
The NPF Rule
The 500 Rule
Focusing in the Dark
Switch to Manual Focus.
Zoom in on a bright star using Live View.
Turn the focus ring until the star appears as sharp and small as possible.
Double-check focus throughout the shoot.
Shooting Techniques
Single Exposures
Take one shot that balances the sky and foreground.
Blending Foreground and Sky
Capture separate exposures:
One for the sky (short exposure, high ISO).
One for the foreground (long exposure, low ISO).
Blend the two images in Photoshop.
Stacking for Noise Reduction
Take 10–15 identical frames of the night sky.
Use software like Sequator (PC) or Starry Landscape Stacker (Mac) to align and stack frames, reducing noise.
Single Exposure Using LIghtroom: 14mm f/1.8
Blending Exposures Using Photoshop: 24mm f/2
Stacked Exposures Using Sequator: 16mm f/2.8
Safety and Etiquette
Safety Tips
Scout the location during the day.
Dress in layers and bring gloves, hats, and blankets for warmth.
Let someone know your location if you’re shooting alone.
Leave No Trace
Minimize artificial light use.
Avoid trampling sensitive environments.
Pack out what you pack in.
We’re all about giving you the tools to capture unforgettable moments, and photographing the Milky Way is one of the most awe-inspiring experiences you can have under the night sky. With this detailed guide, you now have the knowledge to plan your shoot, set up your gear, and post-process your images to create stunning photos of our galaxy.
For more opportunities to refine your astrophotography skills and explore breathtaking landscapes, check out our tours and workshops at WildscapeAdventure.com. Whether you're capturing the beauty of the Milky Way, photographing majestic wildlife, or seeking out other incredible natural wonders, we’re here to help you elevate your photography. Let’s make your next adventure extraordinary!